Customize a Chart
Use the chart editor to prepare every chart in a figure panel for publication, from the legend and the axes to the marks, the statistics, and the type sizes.
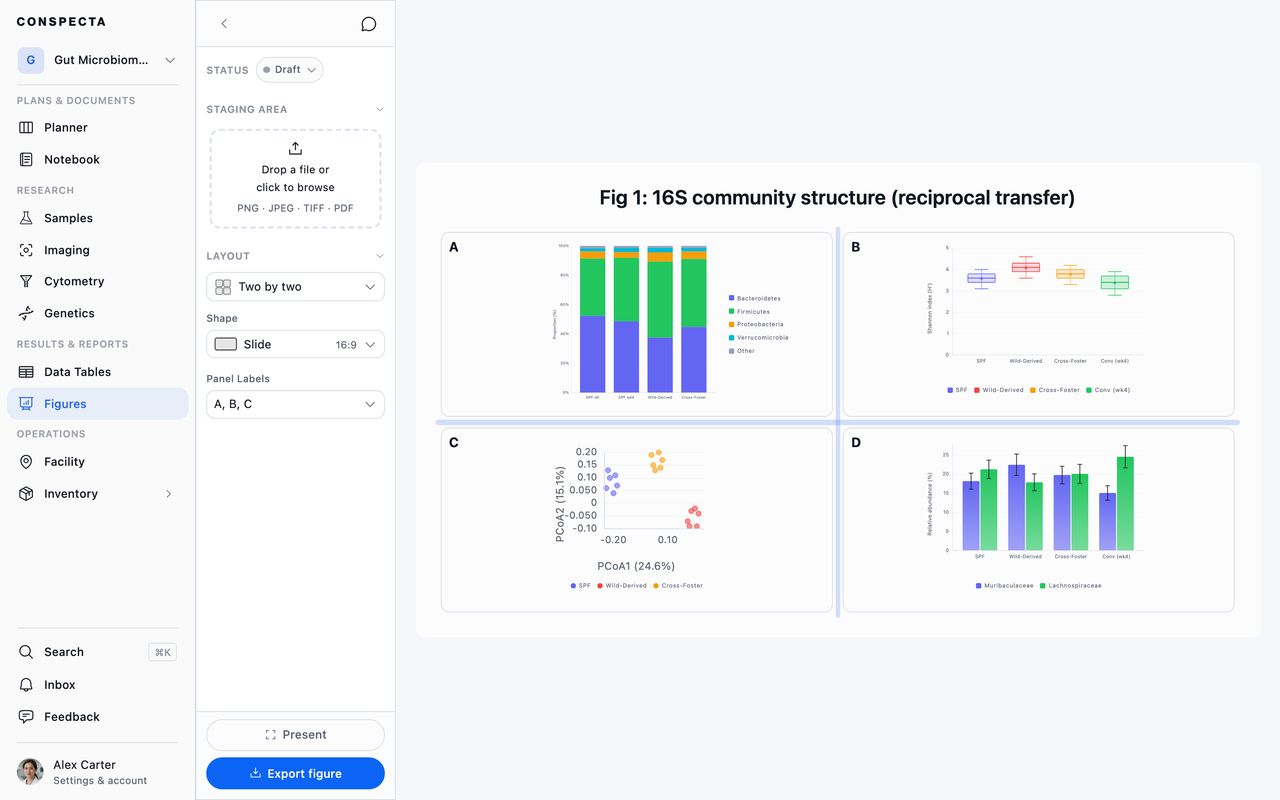
Opening the Editor
Click Edit on any chart panel in a figure. The sidebar is a series of steps, and which ones you get depends on the chart:
- Choose data connects a project table or takes rows you type in
- Chart type picks the plot and how repeated rows combine
- Axes & Labels covers titles, axis labels and their font sizes, scale, range, and ticks
- Clustering, on heatmaps only
- Comparisons, where error bars and significance tests apply
- Appearance holds colors, the legend, and how the marks are drawn
Tip: There are around sixty controls in here, so use the search box above the steps. Type "gridlines" or "error" and it lists the matches grouped by step. It also shows when a control exists but doesn't apply to your chart type, and why.
The editor shows only the controls that can affect your chart, so a heatmap has no y-axis scale field.
In place of these steps, a plot drawn live from flow data offers the panel text plus a Plot section with the plot's own controls, scales and gate outlines included, described in Figures.
Chart Types
Twelve types: Bar, Grouped, Proportion, Box Plot, Histogram, Scatter, Violin, Dot Plot, Line, Heatmap, Paired, and Waterfall.
Charts are created in three places. The Chart panel in Data Tables and the results view of an image analysis both give you a quick preview with four controls. The figure editor, this page, is the only place appearance is edited. Charts produced by a flow or image analysis arrive with their own look already set, so their editor offers labels and layout and leaves out the palette.
Combine Replicates into One Mark
A category axis holds each label once. When several rows share an X value, such as three mice that all say SPF or three wells of the same dilution, they combine into a single mark, and Statistic in the Chart type step decides how.
- Mean is the default, and puts the mark at the average of the rows.
- Median puts the mark at the middle value. One contaminated well moves it far less than it moves the mean, so reach for it when a replicate ran well away from the others and you have reason to keep it in.
- Geometric mean suits values that span decades, like antibody titers, fold changes, and dilution series, where a mean sits close to the largest replicate. It needs every replicate above zero, so a category holding a zero or a negative value has no geometric mean, and that mark is left off the plot.
Error bars and individual points come from every row whichever statistic you pick, and the whisker centers on the mark that is drawn. A category with one row keeps that row's own number under all three.
The control appears on the chart types that combine rows this way: bar, grouped, line, proportion, waterfall, and heatmap. A box plot, violin, dot plot, histogram, or scatter reads every row on its own, so the field is not shown.
Place and Size the Legend
The Legend group in Appearance controls where the key sits and how big it is.
- Position puts the legend on the top, bottom, left, or right of the plot, or hides it
- Alignment slides it along that side. A top or bottom legend aligns left, center, or right. A side legend aligns top, middle, or bottom. A bottom legend set to Left hugs the lower-left corner, which is the convention many journals ask for.
- Size sets its font size. Leave it blank for automatic sizing, which scales the legend with the panel.
Tune the Axes
The Axes & Labels step carries:
- Chart title, which falls back to the panel letter if you leave it blank, and Panel subtitle beneath it
- Axis labels for each axis
- Axis label & tick size, the font sizes of the axis titles and of the numbers or category names along each axis
- Y-axis scale and X-axis scale, switching between Linear and Log₁₀
- Y-axis range and X-axis range, with an explicit minimum and maximum so several panels can share one scale. Blank means automatic.
- Y-axis ticks and X-axis ticks, which take an approximate count and a format: automatic, a fixed number of decimals, scientific notation, or Fraction as percent, which reads a value between 0 and 1 as a percentage
- X-axis labels, which keeps category names horizontal, angles them at 45°, stands them vertically, or wraps them onto several lines. An angled or vertical name too long for the space under the chart is shortened in the middle, keeping its start and end, and pointing at it shows the whole name.
- Show gridlines, in the same scale and range group. Turn it off for a gridless chart.
Panel annotation is here too. It places a block of free text along an edge of the panel, such as Mean ± SEM on one line and Two-tailed Welch's t-test on the next.
Style the Marks
The Series group in Appearance changes with the chart type.
For line charts, set the line width, and a line style per series next to that series' color swatch, so solid, dashed, and dotted tell your series apart in grayscale print. Markers can be added to each point or left off.
For scatter, dot plots, and line charts, pick the marker shape and size.
For bar charts, Bar fill is Flat until you pick Gradient, which fades each bar lighter toward its base, and Show values on bars prints each bar's number above it. On a heatmap the same control reads Show values in cells.
Show Individual Data Points
A bar shows a mean, and two very different datasets can produce the same bar.
Turn on Show individual points and every bar, box, and violin gets its raw values scattered over it as small jittered dots, sized by their own control.
When several rows share a category (or your table has a group column), each bar combines those rows by your chosen statistic and draws a dot for each row. With one value per category you get one dot per bar.
The toggle is disabled on a chart with no raw values behind it, which happens with pre-summarized analysis results. To turn it on, re-save the chart from its data.
Error Bars and Significance
The Comparisons step appears on chart types that can carry it.
Adding Error Bars
Error Bars offers standard deviation, standard error, or a 95% confidence interval, and draws it as whiskers on every bar or line point. The spread comes from the replicates behind each point, so give a category one row per replicate. Three mice in the SPF condition are three rows that all say SPF. The bar combines them and the whisker is their spread. The 95% CI uses the t multiplier for your replicate count, which at n = 3 is more than twice as wide as the SEM.
With one value per category there is no spread to measure, so no whiskers are drawn and a note on the control gives the reason.
Adding Significance Brackets
A significance bracket joins two bars of a chart with one value column, or two boxes of a box plot, and tests the replicate rows behind each. A bar chart with several value columns, or one split by a group column, puts more than one bar at each category and takes error bars only.
Statistical Test picks the test:
- Welch's t-test
- Mann-Whitney U
- A paired t-test
- Wilcoxon signed-rank
With three or more bars or boxes you also get ANOVA with post-hoc t-tests and Kruskal-Wallis with post-hoc Mann-Whitney, and each bracket shows its own pair's post-hoc result. A paired test matches the rows on each side in table order.
Multiple Comparison Correction appears once there's more than one bracket, offering Bonferroni, Holm, or Benjamini-Hochberg FDR. Reach for it whenever you run more than one pairwise test.
P-value brackets lists the brackets you've added. Pick two bars or boxes and click Add Comparison, and the bracket appears above the marks. Its label is stars, or ns:
| Label | P-value |
|---|---|
* | Below 0.05 |
** | Below 0.01 |
*** | Below 0.001 |
ns | Anything higher |
Point at the stars to read the exact p-value.
Each side of a bracket needs two or more replicate rows, and a paired test needs the same number of rows on both sides. A pair the test can't run on stays in the list with the reason under it, and its bracket appears once the data allows.
Heatmap Clustering
Heatmaps get their own step. Cluster rows and Cluster columns reorder the matrix so similar profiles sit together, and turning either on reveals two more choices: Linkage (average, which is UPGMA, complete, or single) and Distance (Euclidean or correlation).
Use correlation distance when the shape of a profile matters more than its magnitude, such as expression across conditions.
Set Type Sizes
Font sizes sit in the Axes & Labels step, next to the text they apply to. Title & subtitle size follows the panel subtitle, and Axis label & tick size follows the axis labels. The legend's size is in Appearance, with the rest of the legend.
Colors
The Colors group sets the palette for the whole chart: Classic, Colorblind Safe, Nature, Grayscale, or Vivid, with a swatch per series you can override. Picking a palette repaints every series, including ones you had set by hand.
A chart with a single series shows one Color row, and all its bars take that color.
On a scatter, setting a column to Group by colors the points by its values, with a swatch and a legend entry for each value and (none) for rows where it is blank. On a bar, line, or proportion chart, each Group by value is its own series with its own swatch.
Heatmaps get a Color Scale choice instead: Sequential for values running low to high in one direction, or Diverging for values centered on zero that go both ways. Waterfall and paired charts have no color controls. A waterfall draws its rises and falls in their own colors, and a paired plot draws a line per subject.
Tip: Colorblind Safe stays readable for the roughly one reader in twelve with a color vision deficiency, and it stays readable when printed in grayscale, where the default palette does not.